

Goal: guide you step by step toward a responsive instrument and a clear sound, without forcing or damaging the head.
Overview: preparing the support and environment, gradually tensioning with a lever, then fine-tuning with tightening knots. The steps avoid damaging the shell, rope and head.
This guide is for beginners changing a head, players whose sound feels muffled and percussionists who want to raise the pitch safely.
Promise: a reproducible and accessible method that favors even tension rather than random tightening.
Before you begin, prepare a lever tool, pliers, tension ropes and a stable support. For a complete demonstration, see this practical guide: detailed tuning guide.
Understanding djembe head tension and its impact on sound
Understanding how tension changes the sound spectrum helps you obtain a balanced, musical instrument.
Why even tension changes the bass, mids and highs
Regular head tension makes the highs clear without becoming aggressive. The bass stays readable and the mids sit better.
The key is not to tighten more, but to distribute pressure around the hoop so that every area responds in the same way.
What happens if the head is too loose or too tight
A head that is too loose produces a muffled sound, blurry attacks and a “soft” rebound feel.
Conversely, excessive tension gives a shrill result, tires the player and increases the risk of failure: cracking of the head or rope breakage.
Limits of animal skin and simple reference points
Animal skin has its limits; aim for musical balance and the safety of the wood and roping.
- Listen for clarity: areas that sound lower indicate uneven tension.
- Identify over-tight spots before they fatigue the material.
- A well-maintained head lasts about a year, depending on use and conditions.
“Distributing tension instead of concentrating it is the best assurance of a well-tuned djembe.”
Preparing the instrument before tuning
Careful preparation limits risks and makes each following step easier. Stabilize the shell on a solid stand or directly on the floor to prevent any movement during pulling.
Check the condition of the roping and knots
Visual inspection and replacement
Inspect the rope: look for wear, fraying or crushed areas. Replace any weakened element before raising the tension.
Find any knot that slips and tighten it. The tension knots must hold without play.
Room conditions and warmth
Avoid drafts and fluctuations
Work in a stable room. A draft or temperature change distorts the skin’s reaction and complicates tuning.
Warm up the head
Play gently for a few minutes to soften the fibers. This makes the skin more receptive and limits deformation as tension rises.
Safety and posture
Wear non-slip gloves to protect your hands and prevent slipping. Gloves help prevent blisters and loss of grip.
Use an engaged posture: your legs stabilize the instrument and protect your back. This step determines the quality of the result.
| Check | What to inspect | Recommended action |
|---|---|---|
| Stability | Support, shell | Place on the floor or on a firm stand |
| Rope | Wear, fraying | Replace or reinforce |
| Knots | Slipping | Redo the tension knots |
| Environment | Draft, temperature | Stabilize the room |
Tips: check the instrument’s overall condition before each step and keep non-slip gloves within reach.
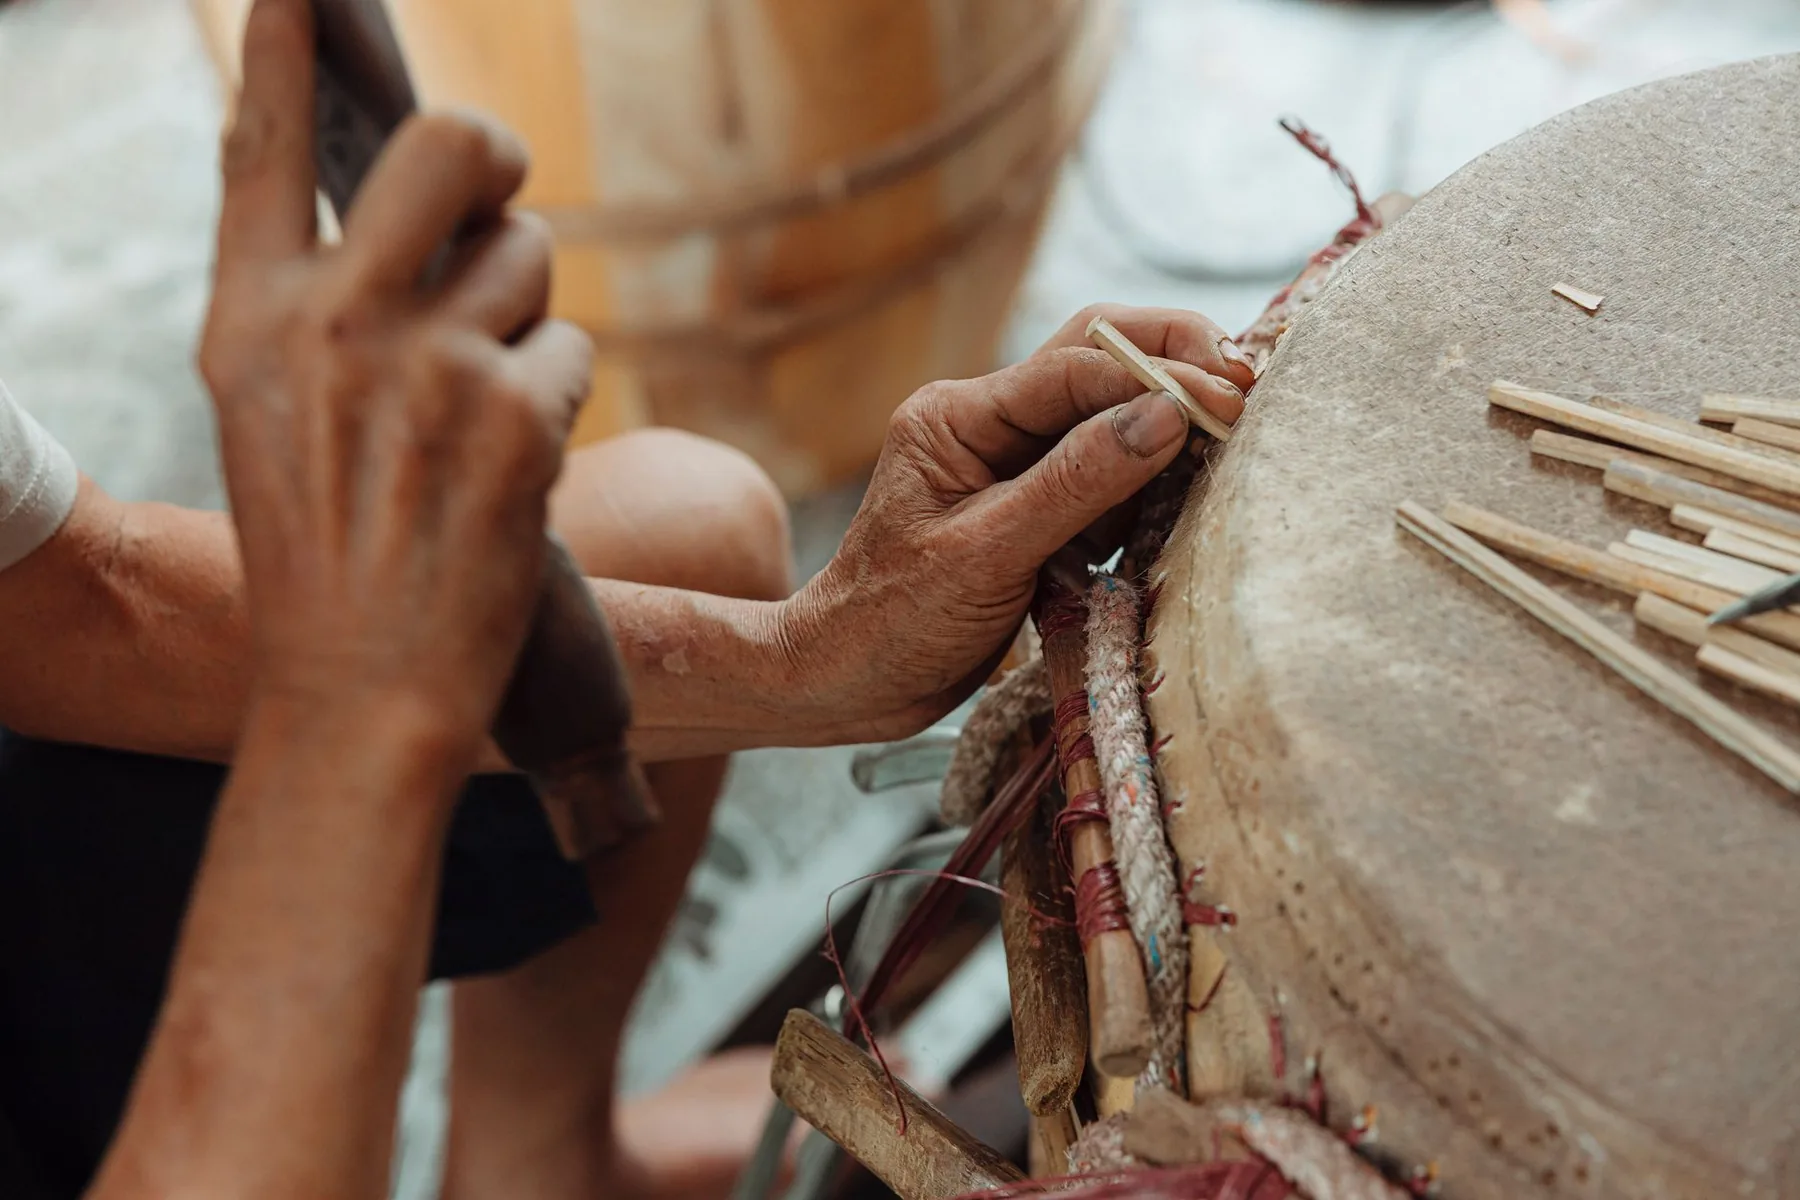
Tuning a djembe: a simple method for tightening the head
Before you begin tightening, define the sound you want to achieve: clearer, warmer or well balanced.
Goal: first aim for even base tension, then refine gradually. Do not seek maximum tension from the first step, especially after fitting a new head.
Choose your sound goal and avoid raising tension too quickly
Set a goal: clear, precise tuning gives character without weakening the system. Raise the tension in stages and check the sound after each series of pulls.
If you force too quickly, the head and ropes wear out. You lose control and increase the risk of breakage.
Identify the starting loop, verticals and bowl/foot junction
Locate the “starting loop”: the first knot anchoring the pattern. It is the point that guides the logic of returns and crossings.
The verticals are the strands running down along the shell. Work them in regular series. The junction between bowl and foot is the physical reference point where traction is most effective.
- Start at the right knot to keep a consistent tightening direction.
- Work the verticals in groups to distribute tension.
- Use the bowl/foot junction as a reference area to control the rise in tension.
| Element | Reference point | Role |
|---|---|---|
| Starting loop | First visible knot | Guides the order of pulls |
| Verticals | Strands running down along the shell | Tension distribution |
| Bowl/foot junction | Base of the shell | Key point for measuring traction |
Tip: start with base tensioning, then use the lever to take up slack evenly.
Set the base tension with the lever technique
Base tensioning starts with reliable tools and a stable position. Work with the shell lying down and sit astride it to secure the pull.
Essential tools:
- Locking pliers: hold the working point and prevent rollback.
- Lever: mechanical advantage (about 55 cm for the pivot, about 90-100 cm for the support point).
- Blocking points: small wedges or clamps to hold the effort between each pass.
Pivot lever technique: insert the lever under the second return (the first remains held by the starting loop). Pivot gently to take up slack in the verticals. Pull smoothly and block after the upper bridge.
Support-point technique: place the lever at the junction between bowl and foot. This movement gives more power and keeps your back straight on resistant ropes.
Logic: pull / block / wind the excess around the handle / repeat, always following the same order until you return to the starting loop.
Key rule: keep resistance at both ends. Without restraint on each side, the tension will be uneven and the tuning unreliable.
Common mistakes: pulling on the wrong return, forgetting to block, forcing until you mark the hoop or damage the rope. Once the base has been set with the lever, fine-tune with the tension knots.
Fine-tune with tension knots, as low as possible
Placing the knots as low as possible toward the foot makes the mechanics more efficient. Low down, each crossing pulls better and wastes less rope. The result: more direct and stable tension.

Why aim for the bottom of the shell
The closer the crossing is to the foot, the more force is transmitted without loss. Make sure you work at this level to limit friction and preserve the line.
The “S” pattern and two-strand technique
Work in pairs of verticals. Pass under the two strands, then over the second and under the first: you get a small “S”. Repeat the sequence on each pair to keep the pattern.
Make a regular first row
The first series should form a clean horizontal line. It indicates even tension distribution and makes sound checks easier.
Move to the second row: beware of the increase
The second row increases tension almost exponentially. Move slowly, test often and stop before the breaking point.
When to redo knots
After a few days, the head settles: micro-adjustments are normal. Then check after a few weeks or months whether the hoop or rope has loosened.
Reminder: lever first, knots afterward – otherwise you lock in flaws and multiply corrections.
For additional instructions or to make a djembe and adapt your tools, see the dedicated guide.
Make or choose a suitable rope-tensioning tool
A good lever turns a series of laborious pulls into precise, repeatable movements.
To make a tensioning tool, choose hardwood (about 60 cm) with a diameter of 3-5 cm. Shape the tip so it can slide under the rope without cutting into it, then carefully sand the handle.

Make a wooden lever
Simple plan: hardwood 60 cm, diameter 3-5 cm; beveled and polished end to avoid sharp edges.
Go over it with fine sandpaper and lightly varnish the contact area. This protects the rope and the wood.
Optimize ergonomics
An H shape with a support bar offers a solid hook point and a better grip. A good handle reduces fatigue and stabilizes tension.
Limits of homemade tools and professional advantages
DIY works, but sometimes lacks precision. Professional tools offer a calibrated pivot (about 55 cm) or a long support point (about 90-100 cm) that better respect the rope, head and shell.
Tip: choose the tool according to the instrument’s size and how often you use it; a good tool makes the method easier without replacing it.
Test whether the djembe head is tight enough
Listening and touch tests quickly reveal tension imbalances. Start by playing the three basic sounds: basses, mids and slaps. Listen for whether the sound is clear and precise, or instead muffled or shrill.
Touch test: press your thumb at the center. A few millimeters of give indicate correct tension. If the thumb sinks in a lot, the tension is too low.
Flex test: lightly pinch the head at different points and pull a little. Look for wrinkles or lack of resistance. Areas that flex too much need retouching.
Playing feedback: strike naturally for several minutes. If your hands tire quickly or rebound is lacking, the tuning is not optimal.
Check all around the hoop: test several points to spot uneven tension before acting on the ropes or knots.
| Test | What to check | Action |
|---|---|---|
| Listening | Clear / muffled / shrill | Raise or lower tension in stages |
| Thumb | A few mm of give | Adjust the tension if it is too low |
| Flex | Wrinkles or resistance | Retouch loose areas |
| Playing feedback | Rebound, precision, comfort | Stop when playing feels comfortable |
Practical rule: stop as soon as the sound is balanced and comfortable; avoid chasing a maximum pitch that shortens the instrument’s life.
For detailed steps and a complete guide on how to tighten the head, see the dedicated guide.
Adjust tuning over time and maintain even tension
The head constantly reacts to use and climate. Adopt micro-adjustments: correct a little, test, return if necessary.
Work in alternation. Move in a star pattern around the hoop: a light pull here, then opposite, and so on. This prevents hard spots from forming and distributes tension evenly.
Pay attention to humidity and heat. During very hot or humid periods, the head relaxes or swells. When the air becomes dry again, tension rises naturally and can split the head if you tightened too much.
Seasonal rule: favor small retouches rather than aggressive tightening. Check the sound at the start of each session and act only if the drift is clear.
A simple routine promotes stability: quick check before playing, micro-corrections by area, and verification 24-48 hours after a tuning session.
| Problem | Action | Frequency |
|---|---|---|
| Muffled sounds | Micro-increase in a star pattern | Immediate, then test |
| Hard spots | Slightly release the area, then redistribute | As needed |
| Humid/hot climate | Avoid strong tightening; light retouches | Seasonal |
Tip: it is better to retouch a little but often than to make one big correction after major loosening.
For technical data and analysis of weather-related variations, see this technical study that complements this article.
Manage the rope: replace it, add line and store the excess neatly
Working on the rope requires method: dismantle gradually and keep visual reference points. This preserves the lacing pattern and avoids starting from scratch.
Change a worn or broken rope without losing the pattern
When to replace: if the rope is frayed, slips or has cut fibers, replace it. A tired rope makes tension unstable and may give way under pull.
Practical method: loosen knot after knot while noting the order. Remove the rope gradually while keeping visual reference points, then install the new rope by following exactly the previous path.
Add rope to regain slack
To gain working length, tie the new line to the old one with a simple knot or a figure-eight knot. This lets you regain slack and redo the tension knots without restarting the whole lacing.
If the rope is synthetic, lightly melt the end before tightening the knot to limit fraying and secure the assembly.
Fold and store the excess neatly
Fold the remainder accordion-style, like a cable, then slide it into an eyelet near the base. Result: fewer snags, no unwanted noise and restored playing comfort.
“Healthy rope makes regular tension easier and stabilizes the head over the long term.”
For a complete step-by-step procedure, see this detailed tuning guide.
Best practices and common mistakes when tuning a djembe
Successful tuning combines method, safety and observation. Follow a clear logic: preparation, base tensioning with the lever, then finishing with the knots. Test often and move in stages.
Do not skip steps: lever first, knots afterward
Golden rule: first use the lever to take up slack and obtain even base tension. Only then lock with the knots to refine.
If you place the knots too early, you freeze the flaws. The result: uneven tension and increased risk of breaking the rope or head.
Protect your hands, avoid blisters and spare your back
Wear non-slip gloves and take regular breaks. Pull with your legs and body weight rather than with your back.
A short warm-up and a few stretches protect your joints if you repeat the operation several times.
Recognize warning signs
Watch for these signs: cracking or slipping of the rope, abnormal wrinkles on the head, areas that sound different, or a sudden shrill sensation.
If in doubt, stop, release slightly, warm the head by playing gently, then resume with micro-adjustments. This protects the condition of the djembe and extends its lifespan.
Tip: preparation -> lever -> knots -> frequent tests. It is better to retouch a little and often than to force things until repair is needed.
Conclusion
To finish, progress in stages: prepare the instrument, set the base tension with the lever, then lock and refine with low knots.
Success criteria: aim for even tension, a clear sound and comfortable playing without shrillness. Test with your thumb and by listening after each series of adjustments.
Move slowly and favor small corrections over time. Humidity and seasons change the head; regular maintenance stabilizes the result.
With good tools, a safe posture and these tips, tuning becomes a practical skill that extends the life of the djembe.