

Learning how to replace a string on a harp is essential for every musician. According to experts, 70% of beginners run into difficulties during this task. Brands such as Camac and Salvi offer different types of strings (nylon, Alliance) suited to each model.
Poor technique can damage your instrument. Three cases of breakage have been documented after common mistakes. Our complete guide will help you avoid these problems.
We will cover four key steps for carrying out this replacement safely. Whether you use a Celtic harp or another model, these tips will be useful.
Preparing to Replace the String
To install a new string successfully, preparation is crucial. Poor handling of the initial steps can damage the instrument or distort its sound.
Identify the Type of String You Need
Each model requires specific strings. For example, Hermine harps use Alliance carbon strings, while Camac favors nylon.
Always check the manufacturer’s technical sheet. A comparison table can help:
| Brand | String type | Compatibility |
|---|---|---|
| Hermine | Carbon | Professional models |
| Camac | Nylon | Celtic harp |
Gather the Equipment
Here is what you will need:
- A standard tuning key
- Luthier’s scissors
- The correct new string
Tip: keep string offcuts for later repairs.
Clean the Contact Points
Dust affects sound quality. Use an old toothbrush for the soundboard holes and tuning pins.
Three areas should be checked:
- The lever passage
- The wooden surface
- The tuning pin
Tying the Right Knot for the String
Mastering knotting techniques helps your instrument last longer. A poorly made knot can cause unwanted vibrations or premature breakage.
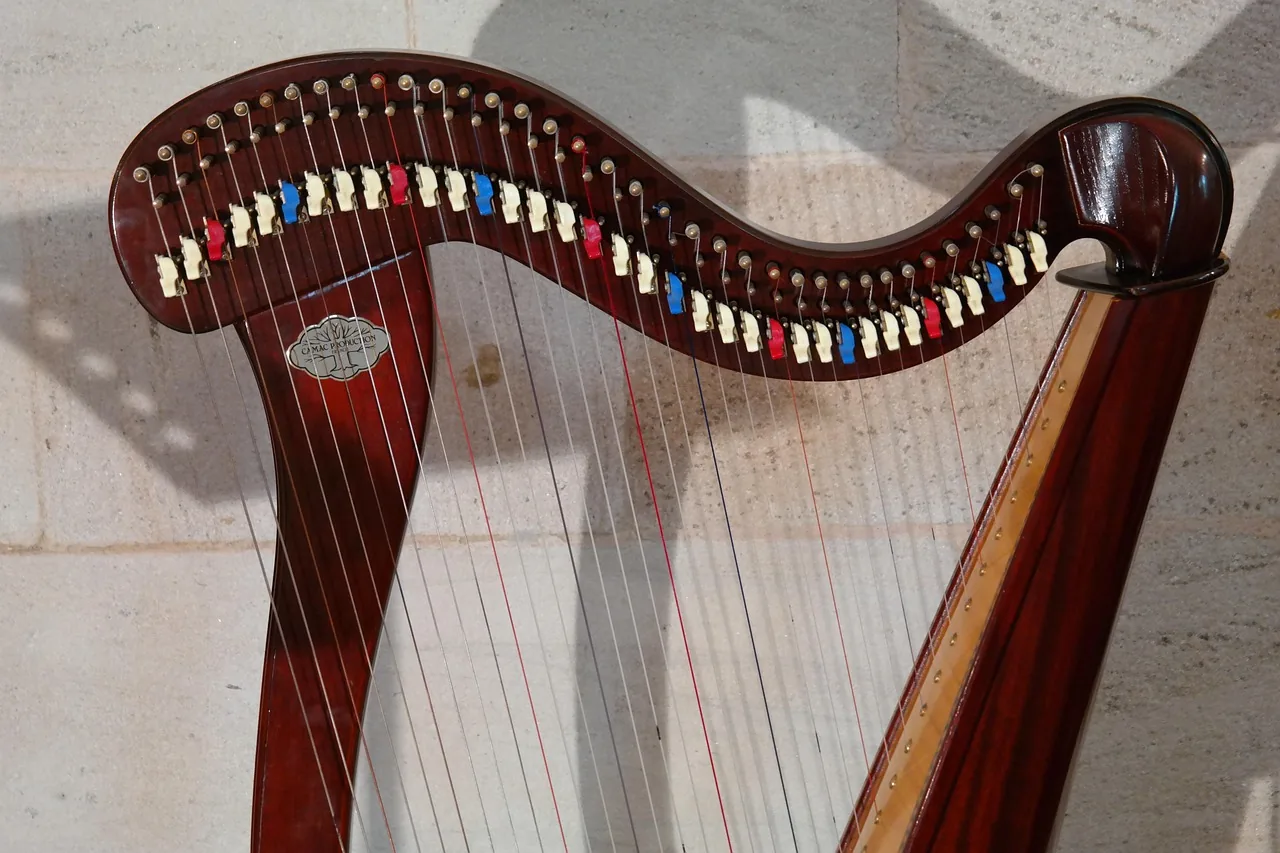
Knot with an Anchor for Small Strings
For nylon strings, use a wooden anchor. This Camac technique provides a secure hold:
- Pass the end of the string through the soundboard hole.
- Insert a dowel as an anchor before tightening.
- Check that the knot does not protrude more than 5 mm to avoid vibrations.
Tip: a secure double knot is suitable for beginners.
“Anchor” Knot for Medium Strings
Medium strings require a specific method:
- Create a loop 1.5 times the diameter of the soundboard hole.
- Use a self-supporting anchor to maintain tension.
- Test the resistance (5 kg minimum).
Simple Knot for Thick Strings
Thick strings are attached with a simple knot:
| Type | End length | Strength |
|---|---|---|
| A1 (Celtic harp) | 2 times the diameter | 7 kg |
To learn more, see the Camac technical manual.
Install and Tune the String Gradually
A successful installation depends on gradual fitting and careful tuning. Rushing can cause string breakage or unwanted vibrations. Follow these steps for an optimal replacement.
Pass the String Through the Soundboard and Tuning Pin
Gently insert the end into the hole in the soundboard. Guide it to the tuning pin, avoiding friction. According to Camac, at least three turns are needed for a secure hold.
Tip: use a plastic guide to protect the fibers.
Leave Slack (the Equivalent of One Octave)
Excess tension during installation is the main cause of string breakage. Leave slack equivalent to one octave. Check it with basic fingering (A3 position).
Wind Neatly Without Overlap
Always wind clockwise. One user testimonial confirms:
“With Alliance strings, I waited three weeks for stable tuning. Parallel windings are essential.”
Tune in Stages (Daily Half-Turns)
Here is a typical schedule:
- Day 1: 1/4 turn every 6 hours
- Days 2 to 7: gradual adjustments
- Daily humidity check
For unwanted vibrations, apply a little beeswax to the tuning pin.
Conclusion
A successful replacement extends the life of your instrument. Follow our checklist to avoid common mistakes and preserve the wood of your harp.
Preventive maintenance increases string lifespan by 40%. Take advantage of Camac workshops and approved tutorials to master every step.
Be careful with unauthorized modifications: they void the warranty. As one user confirms: “Now I can change a string in 15 minutes!”