
Promise: this article helps you learn to read djembe sheet music without turning practice into complicated music theory.
By the end, you will know how to follow a staff, count out loud, identify a measure and connect a symbol to a sound.
Who it is for: djembe beginners, students in group classes and self-taught players looking for a practice aid.
Overall logic: we start from sound and technique, then move toward symbols, then durations and rests, and finally structure with repeats.
Practical framework: read slowly, count out loud and use a metronome or a recording as your reference.
We focus on useful reading — pulse, durations, bar lines and repeats — rather than exhaustive theory. To go deeper into percussion symbols, see this guide to percussion notation.
Understanding What Djembe Sheet Music Is Used For Today
Notation often works as a visual map for replaying a rhythm you have heard.
Oral transmission vs. written supports. In West African traditions, teaching prioritizes listening and imitation. Percussion is learned first by playing together.
Why sheets remain uncommon. Patterns vary from one group to another. Collective feel comes first, so written copies are not systematic.
What Notation Adds
In practical terms, sheet music helps you memorize an accompaniment, isolate a difficult passage and stabilize the tempo between two lessons.
A Simple Hybrid Method
- Listen to the recording.
- Find the pulse.
- Read the sheet while counting.
- Play it again in a loop.
| Approach | Advantage | Limit |
|---|---|---|
| Oral | Collective feel | Less written memory |
| Written | Targeted revision | Risk of mechanical reading |
| Hybrid | Best compromise | Requires method |
Watch out for the trap: reading without listening makes the playing mechanical. Listening without a reference leads to forgotten details. Combine both to progress.
For additional transcriptions and resources, see transcription examples that show the link between oral tradition and written support.
The Basics of Djembe Sound Before Reading a Single Note
Reading only matters if the sounds are distinct. The same written indication must correspond to a recognizable sound on the instrument. Otherwise, the page becomes useless.
The Bass Note at the Center of the Head
The bass note is struck in the center. The hand is flat; the palm and fingers touch the skin. The sound is round and deep; it is the foundation of the groove.
The Slap Note at the Edge
The slap is played at the edge, with the fingers slightly spread. The wrist stays loose and the hand moderately closed. The result is a precise, short and dry snap.
The Tone Note at the Edge
The tone is also placed at the edge, but with the fingers closed and relaxed. Three joints touch the skin to produce an open, stable sound. This sound helps distinguish the beats within patterns.
The Ghost Note and Muting
The ghost note is a controlled stroke at the edge. The fingertips mute the sound to create a discreet impact. It serves as an ornament and an internal rhythmic marker.
Hand, Angle and Relaxation: Practical Markers
Keep the middle finger on a 40° axis and stay relaxed. The angle of the hand affects regularity.
- 2 minutes: bass.
- 2 minutes: tone.
- 2 minutes: slap.
- 2 minutes: ghost note, then alternate all sounds before opening the sheet music.
Djembe Sheet Music: How to Read Simple Notation
Start by feeling the steady beat before tackling the signs on the staff.
The starting point is the pulse: tap your foot and say “1-2-3-4” or “1-2-3” depending on the rhythm. This simple gesture stabilizes the beat and makes the playing easier to place.
Next, count out loud while tapping your foot on every beat. Gradually add the written strokes. The page then becomes a guide, not an obstacle.
Spotting Measures and Reading Direction
Read from left to right, measure by measure, with measures separated by bar lines. These divisions organize the rhythm and help you spot returns.
If several symbols are stacked, keep the pulse as your priority. First play the sounds that mark the beat, then the ornaments.
Connecting Symbols to Sounds
Choose a consistent legend and stick to it. Example of a practical key:
- B = bass
- T = tone
- S = slap
- G = ghost note
At first, write “B / T / S / G” under the notes. Then remove these aids once the movement becomes natural. The goal: turn reading into fluid motion, not laborious decoding.
| Goal | Method | Result | Tip |
|---|---|---|---|
| Stabilize the beat | Tap your foot, say 1-2-3-4 | Regular rhythm | Start slowly |
| Read by measures | Follow the staff from left to right | Fewer direction errors | Spot the bar lines |
| Connect the symbols | Annotate B/T/S/G | Gesture/sound match | Remove annotations gradually |
To go further and find educational percussion resources, see this practical guide: examples and methods.
Decoding Rhythm: Note Values, Durations and Rests
Knowing the value of each note and where the rests fall changes everything in the groove.
Anatomy of a note: look at the notehead, the stem and the flags. The notehead is the oval, the stem is the rising line, and the flags indicate faster divisions.
Common equivalents: one whole note = 2 half notes, one half note = 2 quarter notes, one quarter note = 2 eighth notes, one eighth note = 2 sixteenth notes. This halving logic helps you feel subdivision.
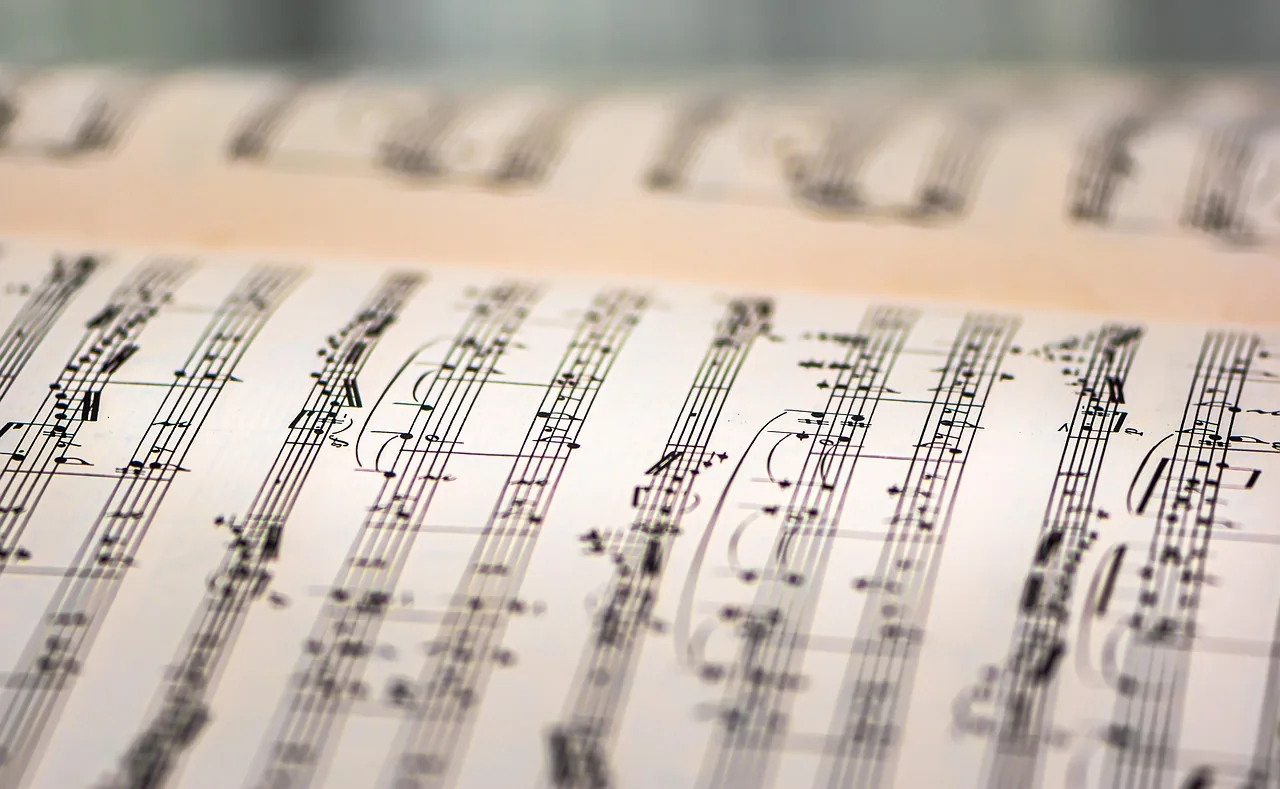
Note Values and Rests
Note values show how long to play; rest symbols show where not to strike. Silence is active: it creates the breathing space of the pattern.
- Example 1: a pattern in regular quarter notes — feel an equal beat in each measure.
- Example 2: the same pattern in eighth notes — the feel becomes tighter.
Dot, Tie and Common Mistakes
A dot extends a note by half of its value. A tie adds two values together (two tied quarter notes = one half note).
“Keep counting even when you are not playing.”
- Mistake: rushing the sixteenth notes → solution: slow metronome.
- Mistake: forgetting rests → solution: count out loud.
- Mistake: losing the measure → solution: work measure by measure, then connect them.
To go deeper with transcriptions, see this educational example.
Measures and Time Signatures: Reading the Rhythmic Frame of a Piece
Understanding the time signature gives the pattern a clear structure and keeps the tempo stable.
The top number indicates how many beats there are in each measure. The bottom number specifies which note value equals one beat (for example, 4 = quarter note). Together, they form the frame that repeats the pattern.
Simple example: 4/4 = four beats per measure, one quarter note = one beat. You also encounter 3/4 and 2/4, as well as the signs C (2/2) and cut C.
Simple vs. compound feel: simple meter is felt in 2 or 4, compound feel in 3 (or 6/8 depending on the notation). To feel the difference, count out loud and then add regular subdivisions.
When the tempo increases, change how you count: move from beat counting (1-2-3-4) to eighth-note counting (“1-and-2-and…”). This method gives more stability and makes precise reading easier.
On the instrument, a clear measure helps place bass, tone and slap. A solid rhythmic base makes polyrhythms easier to manage.
Staff and Symbols: How Sheet Music Shows What to Play
Here, the staff becomes a time guide: it places strokes and rests.
Why percussion notation differs: you are not notating pitches but actions. The values indicate duration; the notehead or its shape often shows which element to strike.
The staff provides a visual reference for aligning attacks. It organizes the pattern, allows several lines to be read if several voices are playing, and makes group entries easier.
Conventions and variants: depending on the school, the same sign can change. Use a consistent legend at the top of the page to avoid mistakes.
Suggested practical legend: B = bass, T = tone, S = slap, G = ghost note. Write these abbreviations under the notes, then remove them once the gesture is learned.
Reading routine: first read the rhythmic placement by tapping on your thigh. Then gradually add what must be played so the group synchronizes without making the playing rigid.
To go deeper into reading method, follow this drum reading guide.
Repeats and Structure: Repeat Bars, Endings and Measure Repeats
Repeats structure the page and guide your returns while you play.
Repeat bars act like mirrors: the bar with dots on the left sends you back to the closest bar with dots on the right.
If no dotted bar appears, you return to the beginning.
Before playing, find and highlight every repeat marking.
This first read prevents you from returning to the wrong place in the middle of the beat.
Bars and Navigation
Treat the bar lines as a navigation system.
When you reach the right-facing dotted bar, look for the nearest matching left-facing pair.
If it is missing, go back to the beginning and follow the indicated path.
First and Second Endings
The brackets show what you play the “1st time” and then the “2nd time”.
For example: form A (repeat) → ending 1 → repeat → ending 2.
On the first pass, play ending 1; on the second, skip it and play ending 2.
Measure Repeats
A symbol may ask you to replay the previous measure or the previous two measures.
It is a useful shortcut for ostinatos: less writing, same repeated pattern.
In African rhythms, the page often shows the call (signal), the accompaniments (loops) and the solo space.
First work on the accompaniment loop with a metronome, add the call, then practice the full form with the repeats.

Conclusion
Keep the essentials: basic sounds, stable pulse, clear measures and mastered repeats.
Reading must serve the music: review, listen and imitate. Music theory remains useful, but it does not replace the ear.
Simple plan between two lessons: 10 minutes working on sounds, 10 minutes of slow reading, 10 minutes with a recording.
Stay consistent: count, correct one point at a time (rhythm first, sound second) and write your difficulties on the sheet.
Concrete goal: replay a rhythm cleanly, master the rests and use the sheet music as a memory aid. For a numbered guide and examples, see this link.