
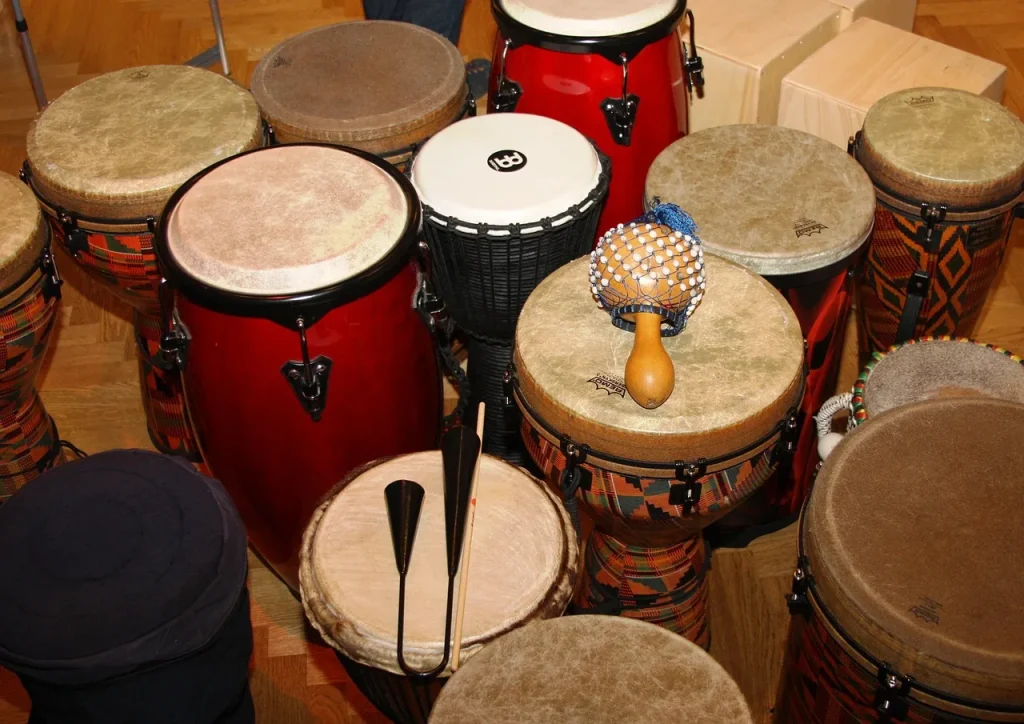
Goal: this guide helps you learn and play this emblematic pattern through a progressive method, without reading music.
This tutorial is for beginners, intermediate players, anyone returning after a break, and musicians who play in a group. You do not need a heavy theoretical background.
By the end, you will know how to recognize the pulse, count the cycle, assemble a pattern, and stabilize the tempo. You will also avoid common mistakes.
The method is clear: sounds → simple notation → warm-up → pattern → tempo → corrections → groove → group playing → variations.
Practical promise: short routines, metronome work, and regular recording so you can progress quickly and fit into an ensemble.
Context: this living West African rhythm connects movement, body, and community. Follow the steps for fast, lasting learning.
Why learn Yankadi today: a living West African rhythm
Originally social, this pattern brings percussionists, dancers, and audiences together in West Africa. It comes from oral transmission and community gatherings. Its role goes beyond accompaniment: it is a language for calling, celebrating, and dancing.
Origins and cultural context
In many West African regions, this pattern is used during festivals, ceremonies, and collective moments. Its apparent simplicity hides a strong social function: maintaining connection, marking the beats, and passing on gestures.
The energy of the rhythm: movement, celebration, and collective joy
The sway of the pattern invites the body to move. It creates a dynamic that sparks joy and exchange. In a group, African percussion becomes the engine of celebration, not just an ornament.
Today, this repertoire lives on in classes, workshops, and jams. Practice brings concentration, coordination, and pleasure. To play with life, start with clean sounds and a clear reading of the cycle.
What to master before you begin: basic djembe strokes
Mastering three clear sounds is the condition for playing cleanly and confidently. These strokes form the foundation of every pattern. For beginners, the main goal remains clarity before speed.
Bass, Tone, Slap: getting three distinct sounds
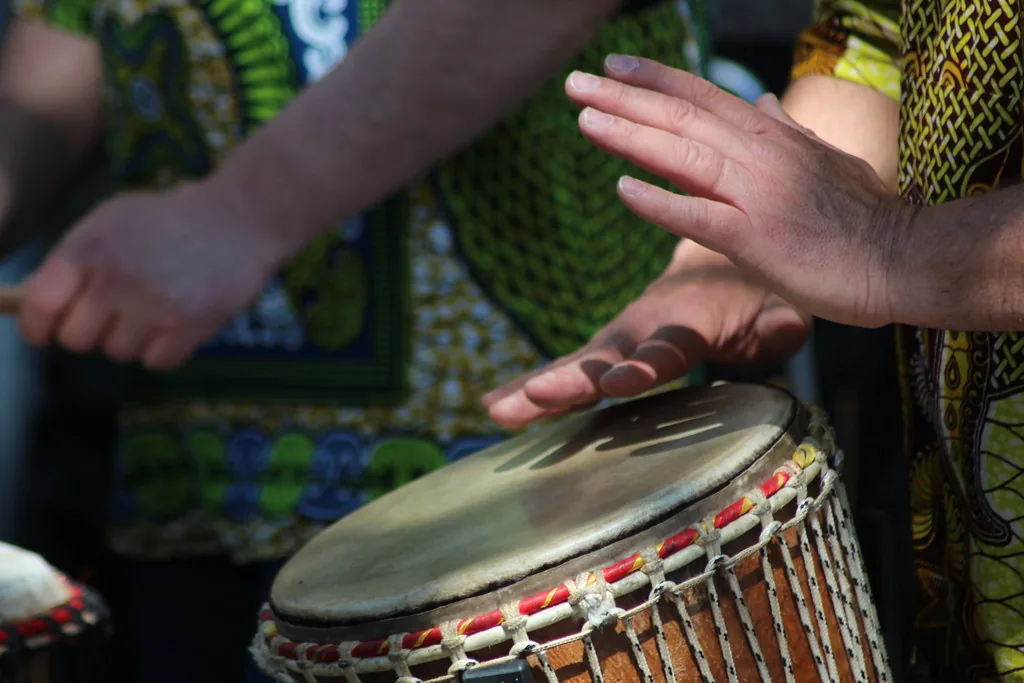
Define each sound: Bass (low), Tone (mid), Slap (high). Focus on the striking zone and natural rebound.
- Bass: whole palm in the center for a full sound.
- Tone: edge, fingers together for a clear midrange sound.
- Slap: edge, fingers slightly apart for the high sound.
Hand position and comfort for beginners
Stable posture, djembe tilted, shoulders low. Save your movement to protect your hands and keep the pleasure in playing.
“Clarity and regularity first; speed will come naturally.”
| Strokes | Zone | Reference Point |
|---|---|---|
| Bass | Center | Full palm, limited rebound |
| Tone | Edge | Fingers together, controlled attack |
| Slap | Edge | Fingers apart, relaxed wrist |
Typical mistakes: overly aggressive slap, flat tone, weak bass. For beginners, work in small sets and stop if tension rises.
These sounds will be written B/T/S. The cleaner they are, the simpler reading and groove become. These techniques can be integrated into daily practice and bring real pleasure.
Understanding simple notation for djembe rhythms
Reading a pattern becomes quick once you know the basic signs. Simple notation uses three letters and a dash for rests. This method lets you memorize a pattern without reading music and share it in a group.
B, T, S and “-“: reading a pattern without sheet music
B = Bass, T = Tone, S = Slap and – = rest. Read from left to right while keeping the same pulse. Spot the accents and mark them so you can play them louder.
Thinking in cycles: 4, 6, 8, or 12 beats
A pattern is a returning cycle. Your goal: come back together on count 1 on every round.
- Count simply: 1-2-3-4 for a four-beat cycle.
- For ternary divisions, use small syllables (e.g. ta-ki-ta) to feel the subdivision.
- Cycles of 6, 8, or 12 beats feel like longer musical phrases.
“Notation should serve practice: read quickly, repeat in a loop, keep the pulse.”
| Element | Symbol | How to feel it | Example |
|---|---|---|---|
| Bass | B | Center, deep sound | B – T – S – – |
| Tone | T | Edge, midrange sound | – T – B – |
| Slap | S | Edge, high accent | S – – T – |
| Rest | – | Beat without a stroke | B – T – – |
Practice cutting measures apart and then putting them back together. This way of reading will serve the next steps: separate, assemble, and loop cleanly for the final pattern.
An effective warm-up to prepare hands, tempo, and endurance
Before playing, a good warm-up protects the hands and improves precision. It prepares the joints, stabilizes the pulse, and prevents tension that harms the sound.
The “Warmed Up” pattern to balance the strokes
Pattern (4×2 cycle): “B B T T S S B T | T T S S B T S B”.
Play it slowly, with clear sounds and controlled rebound. Alternate right hand/left hand on each stroke. Focus on equal Bass/Tone/Slap and even volume.
Ideal duration in minutes according to your level
Recommended progression:
- 5 minutes — beginners: technique and confidence.
- 8-10 minutes — intermediate players: speed and endurance.
- Longer — targeted endurance goal.
Monitor: evenness of the sounds, no tension, and regular breathing. This exercise corrects muted slaps, weak tones, and uneven basses.
“Many students use this warm-up as a ritual before practicing traditional rhythms.”
Yankadi on djembe: understand the rhythm step by step
Before any stroke, let your ears and body catch the sway of the cycle.
Listen first: tap the pulse with your foot, hum a reference point, and feel the movement. This setup makes learning easier and prevents off-time hits.
Break down the cycle
Find the “1” by listening for the return and the accents. First isolate two beats, then four, then the whole cycle. Keep the same tempo at every step.
Assemble the pattern
Play slowly. Check each sound (B/T/S) and connect them in a loop. Only push the speed when the pattern turns effortlessly.
Right- and left-hand coordination
Work on fixed alternations and create anchor points. If the right or left hand lags, slow down and repeat the weak passages.
Recommended mini-routine: 3 minutes of listening, 5 minutes of breakdown, 5 minutes of looping.
“Regularity turns a technical foundation into real musical movement.”
| Step | Goal | Duration | Tip |
|---|---|---|---|
| Listening | Feel the pulse | 3 min | Tap your foot, hum |
| Breakdown | Isolate 2→4→cycle | 5 min | Keep the same tempo |
| Loop | Assemble B/T/S | 5 min | Play slowly, then repeat |
| Coordination | Even out right/left hand | Ongoing | Repeat the weak passages |
To go deeper, consult a complete contextual tutorial on traditional rhythms.
Finding the right tempo: working with a metronome without losing the groove
A well-set metronome becomes a partner, not an authoritarian leader. It helps stabilize the pulse and build a solid foundation.
Setting: choose the quarter note as the pulse. Decide whether you want a click on every beat or only on the “1” to feel the cycle.
Start at 60-70 BPM and increase gradually
Start between 60 and 70 BPM. Play three clean loops effortlessly before increasing.
Raise by only +3 to +5 BPM when the sounds remain clear. This method avoids rushing and reinforces the gestures.
Stability before speed
Stability comes first: a slow, clean rhythm is better than blurry speed. If the sound deteriorates, if rests disappear, or if you tense up, lower the tempo.
A few control markers: loss of attack, muted slaps, or blocked breathing signal that you should return to the previous tempo.
Plan short, regular sessions. Even 20-30 minutes spread across several days produces more progress than sporadic marathons.
To keep the groove, play “with the click,” not against it: breathe, mark your accents, and stay relaxed. This experience can bring more pleasure and mastery than rapid increases.
| Goal | Starting tempo | Increase | Signal to go back |
|---|---|---|---|
| Set the pulse | 60-70 BPM | +3 to +5 BPM after 3 clean loops | Degraded sounds or tension |
| Stability | Varies with comfort | Gradual, in small steps | Rests disappearing |
| Routine | 20-30 min per session | Daily or several times a week | Lack of pleasure or fatigue |
To deepen your foundations and techniques, consult resources on fundamental rhythms.
Common mistakes when learning Yankadi and how to correct them
Technical awkwardness corrects quickly with precise feedback and targeted exercises.
“Muted” sounds: adjust attack and rebound
Signs: slap without resonance, tone that sounds “woody,” bass without depth.
Cause: an attack that is too flat and a hand that stays stuck to the skin.
Simple correction: strike, then let the rebound happen, relax the fingers, and aim for the center or edge according to the sound you want.
Drifting in the cycle: reset with voice and counting
People often lose the 1 by adding or skipping a stroke when a passage is difficult.
Reset: verbalize B/T/S or say syllables (e.g. “Bam-Ta-Pa”) while playing. Count the 1 loudly to recenter yourself.
Objective feedback: record 30 seconds, listen to the tempo and accents, and note one single point to correct.
| Sign | Cause | Correction |
|---|---|---|
| Slap without resonance | Flat attack, tense fingers | Relax, strike loosely at the edge |
| “Woody” tone | Poorly aimed zone | Move toward the edge, adjust the angle |
| Weak bass | Palm stuck, no rebound | Strike the center, lift the hand for resonance |
Always return to the foundation: isolate one cell, do 10 clean repetitions, then reintegrate it. Correct slowly, then speed up only once stable. This approach supports good learning and real feedback.
Feeling the movement: making the rhythm live instead of reciting it
A pattern becomes alive when it invites the body to move, not only the hands.
The difference between playing accurately and making people dance lies in accents, breathing, and intention. Keep the flow continuous instead of lining up dry strokes.
Verbalize to anchor the pattern
Simple method: assign a fixed syllable to each stroke (B/T/S) and keep the pulse with your foot. Speak the pattern for a while, then play it to strengthen memory.
- Exercise: speak the pattern for 1 minute, play for 1 minute, alternate without losing the cycle.
- Feeling: a slight torso sway, relaxed shoulders, a “rolling” gesture rather than a hammered one.
Playing as if you were answering a group creates a collective dynamic. Even alone, imagine the dance and the presence of others to recover joy and pleasure.
“Listening to traditional recordings helps you absorb the music and the intention, not just the sequence of strokes.”
Playing in a group: how Yankadi is organized with calls and responses
Playing in an ensemble turns a simple loop into a musical conversation.
Principle: a call pattern serves as a signal. The rest of the group locks in, then continues the groove. This logic makes starts and returns easier during collective sessions.
The role of the call
The call announces a start, a change, or a break. It secures moments when the playing could scatter.
A good call is clear, short, and strongly articulated. It avoids confusion and quickly recenters everyone.
Responses and continuity
The group responses keep the line and support the foundation. Every percussionist must listen more than they play.
Simple rules: keep an internal pulse, choose a shared reference point, and leave space for those who are leading.
| Element | Function | Practical tip |
|---|---|---|
| Call | Start / signal | Short, accented, one single pattern |
| Leader | Guide the return | Give the tempo, then let it turn |
| Percussionist | Support the ensemble | Balance the sound, respect the foundation |
| Session | Collective learning | Rotate roles to progress |
“The group quickly reveals timing gaps and helps everyone correct their gestures.”
Variations, breaks, and a more advanced version: enrich your Yankadi
When the foundation turns effortlessly, you can introduce a richer version.
Add a simple variation without breaking the tempo
Change one single stroke (for example a Tone) into a small two-note cell. Check that the cycle lands cleanly back on the “1.” Add a version only if the foundation is automatic and the tempo is stable.
Build a short, clear break
A break must be short, repeatable, and recognizable. Three or four well-articulated strokes are enough. The group must hear the signal and return immediately to the foundation.
Improvise a solo while respecting the foundation
Improvise in one-cycle phrases, then leave a rest or return to the pattern. This prevents filling space without direction and increases energy without breaking the dance.
“A successful variation increases musical tension without breaking the pulse.”
| Action | Purpose | Practical advice |
|---|---|---|
| Replacing one stroke | Vary without destabilizing | Test with the metronome, go back if there is an error |
| Short break | Signal/relaunch | 3-4 strong, recognizable strokes |
| Solo | Controlled expression | One-cycle phrases + silence, record to validate |
One-week practice plan: progress even with little time
Organizing your practice over seven days prevents scattering and speeds up gains.
10-15 minute routines for beginners
Short routine (10 minutes): 5 min warm-up, 5 min breakdown or loop. For 15 minutes: 5 min warm-up, 5 min assembly, 5 min metronome and cool-down.
Practicing in the evening: keep energy and precision
In the evening, reduce the volume and prioritize relaxation. Breathe between sets and favor precision over speed.
Measurable goals and tracking
Set clear targets: 3 clean consecutive cycles, 2 minutes without speeding up, clear slap 8/10. Note the tempo, feeling, and weak point every day.
| Day | Focus | Duration |
|---|---|---|
| Monday | Sounds (technique) | 10-15 min |
| Tuesday | Cycle and metronome | 10-15 min |
| Wednesday | Groove / listening | 10-15 min |
| Thursday | Short variation | 10-15 min |
| Friday | Gentle endurance | 10-15 min |
| Saturday | Mix: sounds + cycle | 15 min |
| Sunday | Cool-down & review | 10 min |
“15 minutes every day is better than 2 hours once a week.”
Recording yourself to accelerate learning: your best feedback
Recording yourself turns internal listening into sound evidence. It is the best feedback for seeing what is truly changing in your playing.
What to listen for
Listen for three key elements: regularity, clarity, and dynamics. Note whether the tempo holds, whether accents are coherent, and whether Bass/Tone/Slap are balanced.
Simple protocol: place your smartphone 1-2 m away, record 30-60 seconds of the same excerpt at the same tempo. Repeat the take each week to compare.
Tip: start with a click or metronome in the background to calibrate, then make another take without the click to test your stability.
“Record yourself regularly as well to assess your progress.”
| Action | Duration | What to listen for |
|---|---|---|
| Take | 30-60 s | Stable tempo, accents |
| Evaluation | 2 min | 1 strong point / 1 point to correct |
| Correction | 5 min | Targeted work, then a new take |
| Archiving | Permanent | Sort by date on a website or in a folder |
Set a simple rule: after each take, note one positive piece of feedback and one point to improve. Resume, record, and you will see learning move forward quickly.
Connecting Yankadi to other rhythms: building a culture of African percussion
Comparing several patterns reveals how cycles shape accentuation and feel. This approach helps the learner place one pattern within a broader tradition.
Pedagogically, comparing cycles (4/8/12) clarifies the place of accents and the binary or ternary feel.
Concretely, here are three examples often cited in classes, written with the same simple method:
- Kuku (cycle 4): “B – – T S – T -” — repetitive, almost hypnotic feel.
- Djansa (cycle 12): “B – – T – – S – S B – -” — long, ternary phrase; you feel a “ta-ki-ta.”
- Soli (cycle 8): “B T S – T – S T” — lively energy, often fast and incisive.
A short comparison exercise helps understanding: play 2 minutes of each cycle at the same BPM. This will reveal the shifting accents and the change in feel.
Finally, the culture of West Africa is transmitted through the ear and collective practice. To integrate the style, prioritize classes with a percussionist or teacher. Guidance helps with nuance, dynamics, and musical intention.
“Comparing, listening, and playing side by side helps you grasp what makes a pattern live, far beyond the simple grid.”
| Pattern | Cycle | Notation | Feel |
|---|---|---|---|
| Kuku | 4 | B – – T S – T – | Repetitive, hypnotic |
| Djansa | 12 | B – – T – – S – S B – – | Ternary, long phrasing (ta-ki-ta) |
| Soli | 8 | B T S – T – S T | Energetic, fast, and incisive |
To explore these links between rhythms and practices further, read an article on the richness of dance steps and patterns in the region: Guinean culture and repertoire. Classes remain the best way to absorb the nuances.
Understanding Yankadi’s place in music and social life in West Africa
This pattern’s place goes beyond simple percussion: it structures collective moments, rites, and celebrations.
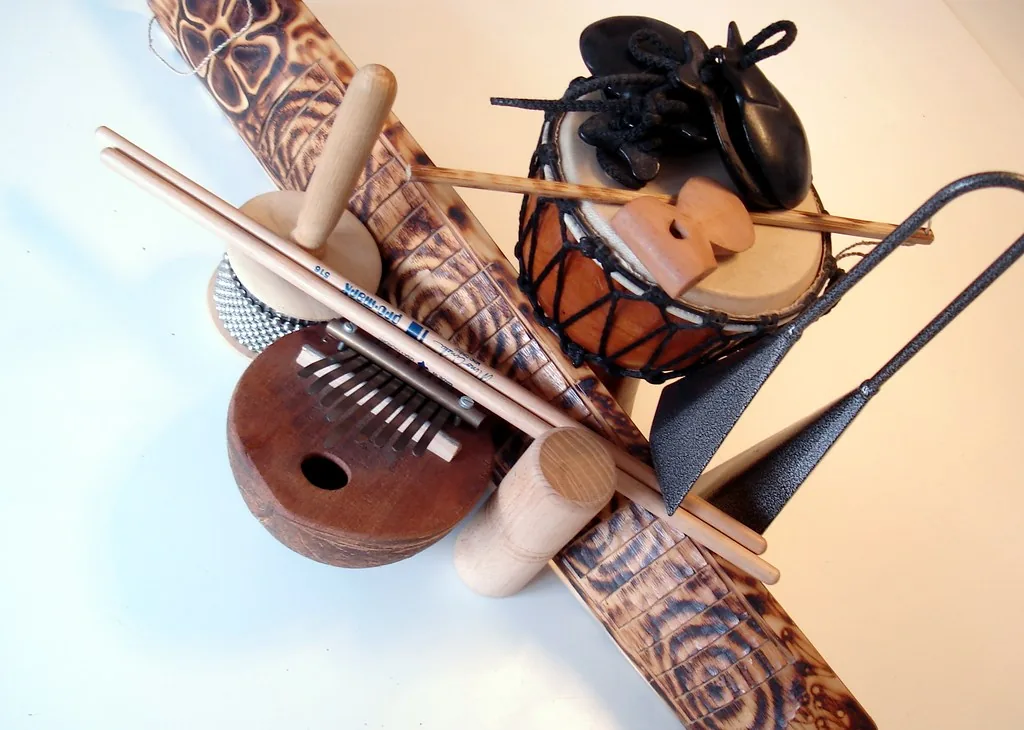
Percussion as language: strokes serve as codes and signals. They gather people, announce a start, or mark a strong moment. The gesture carries intention and creates shared energy.
Interaction with dance: percussion responds to movement. Accents guide the step, posture, and breathing. This relationship stimulates musicality and presence.
In a celebratory context, the pattern produces joy and immediate cohesion. It is not an isolated technical demonstration, but a social tool.
For a learner in France, respecting the origin enriches the playing. Listening to traditional ensembles and observing bodies helps you feel where the pattern “breathes.” A good starting point is to explore Guinean music to grasp the intentions and colors.
“Collective practice reveals the true social function of the pattern.”
Djembe classes and collective practice: learn faster with students and a group
A group class offers targeted corrections and guided listening that speed up progress. Direct support corrects posture, sound quality, and rebound management, and stabilizes the cycle.
What a class provides:
- Precise technical corrections to improve slap, tone, and bass.
- Guided listening: the teacher makes you hear the pulse and accents in real time.
- Stimulation from other students: shared reference points and regular motivation.
Practice moments: organize a typical session
Simple example, modeled on a weekly session (a “Wednesday evening” model in Essaouira):
- Short warm-up (5 min).
- Review of the foundation and targeted corrections (10 min).
- Slow work on the main pattern (10 min).
- Group setup, then mini-variation (10 min).
Transposing this to France: create a weekly time slot, invite 2-4 people, film 1 minute to get precise feedback, and keep the same structure. During the class, ask for one priority correction only (for example: slap, tempo, or cycle) and one simple exercise to repeat at home.
“A fixed routine — like the Wednesday evening meeting — produces quick results.”
To go further, consult experience-based feedback and practical resources on a workshop and its advice.
Conclusion
To finish, adopt a short, measurable routine to consolidate each step.
Summary of the path: sounds (Bass/Tone/Slap) → simple notation → warm-up → progressive learning of the Yankadi pattern → tempo (60-70 BPM) → corrections → groove → group playing → variations.
Priority: regularity and clear sounds before speed. This keeps the music alive and effective.
Immediate action: 10-15 minutes today with the Warmed Up exercise, then 5 minutes of slow looping of the pattern. Record one take each week to get objective feedback.
Then expand toward Kuku, Djansa, and Soli. Joining classes, workshops, or a weekly session will accelerate progress and multiply the pleasure.