
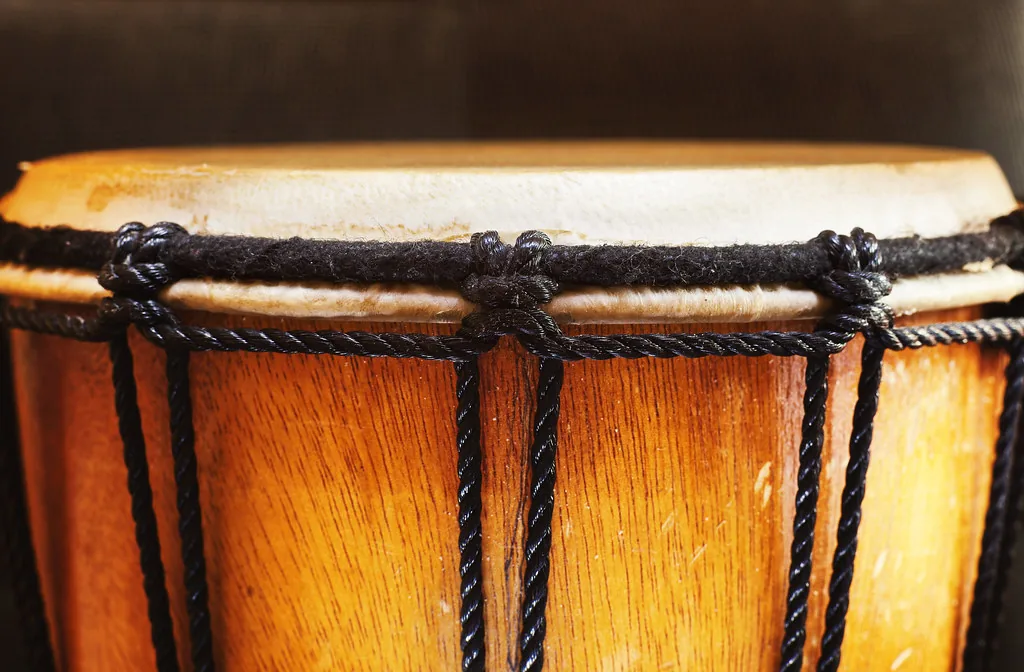
Promise: a simple guide to quickly get a clean sound, learn three tones (bass, open tone, slap), and string together clear patterns without spending hours on it.
Why it works: regular practice, with short 10-20 minute sessions, builds muscle memory better than one long occasional session. Choose a quiet place and a moderate tempo.
Tone quality comes from relaxation, rebound, and precision, not force. We will cover playing positions (chair, floor, standing), strokes, then a simple routine to follow.
Expected result: play without pain, produce three distinct sounds, and hold a steady pattern. Record yourself on your phone to measure your progress week by week.
The plan follows a logical order: sound zones, choosing the instrument, posture, strokes, routine, metronome, rhythms, and creativity. These tips make learning easier and refine your playing techniques and musical ear.
Understanding the djembe and its sound zones to progress faster
Knowing where to strike the head turns a messy hit into a clear tone.
Center, edge, and tilt: the center produces the resonant bass. The edge gives higher sounds and a clean attack. The drum’s tilt and the position of the base change projection and sustain.
Mini listening exercise: alternate very slowly between center and edge. Move the impact point by a few millimeters until the tone stabilizes. Listen to the resonance and note the difference.
Do not confuse making noise with producing a clean sound.
- Base too closed (pressed against the floor) = choked resonance.
- Striking too far in the center while pushing the hand in = dull sound.
- Striking the edge with tension = dry, muddy attack.
| Zone | Characteristic | Reference point |
|---|---|---|
| Center | Bass, round | The fingers rebound without pushing in |
| Edge | High, attack | Palm lifted, rounded hand |
| Tilt / base | Projection / sustain | Open base = more sound |
Tip: if the stroke “cracks” without pain or stiffness, the zone and technique are probably right. Understanding these reference points saves time and improves your control.
Choosing a comfortable instrument to support regular practice
The right instrument makes practice easier and prevents tension from the first lesson. An uncomfortable instrument discourages you and creates stiffness that harms the sound.
Size and weight for your body type and use
For many adults, a height close to 60 cm and a diameter of about 30 cm offers a good compromise between access to the edge and resonance.
Aim for a weight of around 8-12 kg for a stable shell at home. If you travel, choose a lighter model that limits fatigue.
Wood or fiber/plastic: sound quality and durability
Wood: warm, rich sound, sensitive to humidity. Fiber/plastic: light, impact-resistant, and resistant to climate changes.
Natural skin, tension, and testing before buying
Choose natural skin (goat or antelope) for tonal richness. Make sure it is even and free of cracks.
Testing protocol: hold the instrument between your legs, strike the center, then the edge. The shell should vibrate and the resonance should last about 3 seconds.
| Criterion | Wood | Fiber / Plastic |
|---|---|---|
| Ideal size | ~60 cm / 30 cm | ~55-60 cm depending on model |
| Recommended weight | 8-12 kg (stable) | 4-8 kg (easy to transport) |
| Sound quality | Warm, rich | Clean, less warm |
| Durability | Sensitive to humidity | Very resistant |
Practical advice: for beginners, choose a sturdy, comfortable instrument rather than a heavy or fragile model. For more tips and a beginner’s guide, see our recommended link.
Setting up healthy posture to play without pain every day
Adopting a stable position reduces tension and keeps playing enjoyable for longer. Before each session, do a quick body check. Good posture makes precision easier and helps prevent injuries.
Sitting on an armless chair: stability and freedom of movement
Sit on the edge of an armless chair, back straight, feet flat. Keep your knees slightly open to stabilize the djembe.
Tilt the drum toward you at about 45 degrees to reach the edge without twisting your wrists.
On the floor: tilt, breathing, and endurance
Cross-legged or kneeling, check that air can pass under the base. Breathe calmly to avoid stiffness.
Use your arms and shoulders for endurance rather than forcing with your hands and fingers.
Standing with a strap or harness: essential adjustments
Set the strap at pelvis/navel level and tilt the drum slightly forward. Avoid raising your shoulders.
Signs of tension and quick corrections
Hard forearms, locked fingers, or wrist pain: stop and readjust.
- Quick check: shoulders low, wrists neutral, hands relaxed, elbows slightly bent.
- If tension appears: slow down, reduce force, recover the rebound, adjust the tilt or strap height.
Goal: good posture makes daily practice realistic and protects your shoulders and wrists over the long term.
Mastering the fundamental strokes with the hands and fingers
Knowing how to control each impact makes the tone precise and the playing more musical. This trio of sounds – bass, tone, and slap – forms the djembe alphabet. Until they are distinct, patterns stay blurry, even at a good tempo.
Bass stroke in the center
Bass: palm in the center, vertical path. Use the weight of the arm, not wrist contraction. Look for a controlled rebound to get a round low sound without forcing.
Open tone at the edge
Tone: four fingers together at the edge, palm lifted. Brief contact on the finger joints, then rebound. Contact should be clean without choking the head.
Slap at the edge
Slap: fingers spread, rounded hand. Short, quick attack at the edge for a clear high sound. Release immediately to let the sound breathe.
Managing resonance
Learn when to let the drum ring and when to mute it by resting the hand. Letting it ring opens the groove. Muting clarifies phrases and breaks.
Sensory cue: no pain, a feeling of rebound, sound that “comes out” without increasing force.
Recommended exercise: 4 basses + 4 tones + 4 slaps, slowly, then alternate right/left. Prioritize quality: if the tone worsens, slow down and correct the impact zone millimeter by millimeter.
| Sound | Position | Reference point |
|---|---|---|
| Bass | Center, palm | Vertical path, rebound |
| Tone | Edge, fingers together | Brief contact, palm lifted |
| Slap | Edge, rounded hand | Fingers spread, short attack |
To go further, see a method for learning on your own that complements this technique.
Djembe exercises: a daily routine to make progress
A focused 2-5 minute start prepares the fingers and stabilizes the rebound. Begin with gentle wrist rotations, open and close the hands, then play a few very light strokes to wake up your sensations.
Short and effective routine (10-20 minutes)
Copy-and-paste structure: warm-up 2-5 min -> “sounds” block 6-9 min -> “pattern” block 5-8 min -> cool-down 1-2 min.
“Sounds” block: stabilize bass, tone, and slap
Work 2-3 minutes per sound. Aim for the same tone stroke after stroke. Start with the right hand, then the left hand. Slow down if the quality drops.
“Pattern” block: keep the line without speeding up
Choose a simple cell and loop it for 2-3 minutes. Take a short break, then resume the same cell. The goal is to maintain a steady pulse, even when adding a light accent.
End of session: cool-down and notes
Finish with a few gentle strokes and relax the shoulders and forearms. Write one line about what improved and what is still blocked, along with the day’s tempo.
Tip: record 30 seconds at the end of the session to track your progress over several days.
For testimonials and student feedback that complement this training, see this student feedback.
Developing your sense of rhythm with a metronome and musical loops
Holding a metronome immediately changes how you feel time and reveals the small accelerations that happen when your attention shifts to the hands.
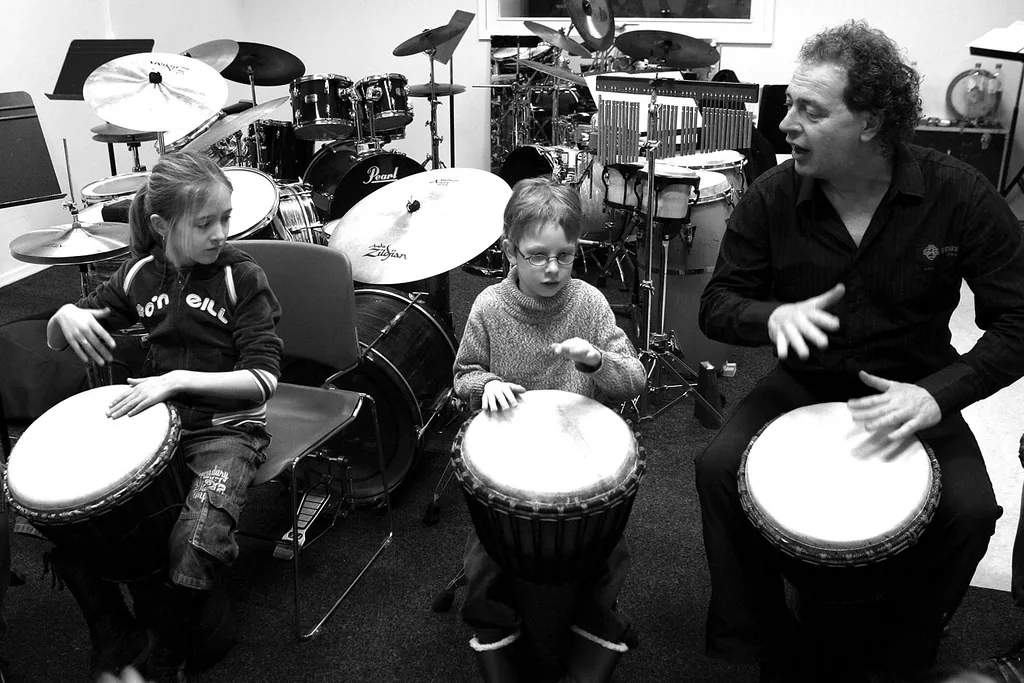
Realistic starting point: begin at 60 BPM. Increase the tempo only if the tone stays clean and the regularity stays stable.
Choosing a BPM and increasing in steps
Progress in small steps: +2 to +5 BPM. Validate each step over several repetitions before increasing.
Working on the pulse
Simple method: play one cell for 2 minutes, stop for 20 seconds, then come back exactly on the click. This trains your return to tempo and strengthens your learning of placement.
Accents and active listening
Accent one beat by playing louder without shortening the intervals. Listen for whether a slap arrives early or the bass crushes the dynamics.
Tips: use simple musical loops to place yourself inside the music. One or two lessons (in person or by video) provide useful outside feedback on rhythmic practice.
Learning simple rhythms and building solid musical foundations
A clear groove starts with simple, repeated cells. Begin with short, slow patterns. Repetition anchors the foundation and makes listening easier.
Accessible beginner patterns: building a clear groove
Three very accessible patterns:
- Bass-tone-tone-slap (repeat 4 times)
- Bass-tone-bass-tone (right/left hand alternation)
- Tone-tone-slap-rest (place the pulse)
Exploring traditional rhythms in simplified form
Start with a reduced version of Kuku: keep the basic cell at a moderate tempo.
Djole and Kassa can be played as short phrases, without ornaments, to feel the line.
Moving from one pattern to another without losing the rhythmic line
Work the transition as an exercise: 2 bars A, 2 bars B, return to A. Play slowly and without speeding up.
Listening method: listen to a 30-second excerpt, tap the pulse with your foot, then replay while keeping the line. Group playing rewards stability: it is better to hold a solid foundation than to multiply the notes.
For videos and focused lessons, use slowed-down playback to check placement and avoid anchoring mistakes.
Speeding up progress with coordination, rolls, and creativity
The key to fast progress often lies in short, strict, repeated drills. The goal is to move from “I repeat a pattern” to “I control my hands” through focused exercises.
Right / left alternation
Simple drill: choose one sound (tone or slap). Play slowly right/left, aiming for equal tone and volume. Repeat for 1-2 minutes, then increase the tempo if the quality stays identical.
Subdivisions and triplets
Work with a metronome at 60 BPM: eighth notes -> sixteenth notes -> triplets. This method makes playing more fluid and strengthens muscle memory.
Rolls and rebound
Look for natural rebound with supple fingers and wrists. Start slowly, validate cleanliness, then move from 60 to 70, then to 80 BPM while keeping relaxation and clarity.
Improvising without getting lost
Structure your improvisations: introduction, development, conclusion. Use silence as a musical tool. Film yourself once a week to check posture, precision, and dynamics.
Draw inspiration from the masters (Mamady Keita, Famoudou Konate): listen to their energy, then adapt the ideas to your level.
For practical lessons near you, see percussion lessons.
Conclusion
To conclude, apply four simple pillars: know the zones of the head, choose a comfortable instrument, maintain healthy posture, and stabilize bass, tone, and slap.
Golden rule: quality comes from relaxation, rebound, and precision, not force.
7-day plan: 10 minutes a day, metronome, repetition of one looping cell, and a small variation at the end. Record yourself and correct the position rather than forcing.
Then learn a traditional rhythm slowly, play with a musical loop, and look for a group. For practical resources, follow this guide to learn a rhythm and supplement it with lessons, tutorials, and communities.