

This clear, practical guide explains how to play a simple pattern without jargon. It offers seven immediate exercises designed for gradual learning.
Goal: achieve a clean sound, a steady tempo, and good right-hand/left-hand coordination. Prioritize consistency: about 15 minutes a day with a metronome or play-along.
The method follows five clear steps: choosing the instrument, posture, strokes, patterns, then tempo work and routine. Start slowly, move up to normal tempo, then fast tempo in three stages.
Reassuring tip: power comes from the striking zone and relaxation, not from force. You will avoid pain and fatigue.
Measurable promise: after a few sessions, you will be able to hold a simple pattern for 1 to 2 minutes with a metronome without speeding up. These exercises work alone or in a group.
Getting off to a good start: choosing a djembe suited to a beginner
Choosing the right instrument from the first sessions makes learning easier and protects the body.
Size and playing comfort
An instrument that is too large or too heavy disrupts posture and slows down accuracy. For an adult, aim for a diameter of 30-35 cm. For a child, choose a smaller format, around 20-25 cm.
These sizes make it easier to hold the drum between the legs and strike naturally, which helps you acquire the basics of playing.
Wood or synthetic
Wood (teak, lenke, iroko) offers a warm sound but weighs more. Synthetic shells remain light, easy to transport, and stable when humidity changes.
Tuning and sound quality
Quality shows in the consistency of the sound, the absence of unwanted vibrations, and the reliability of the ropes and rings. Avoid skins that are too tight: they tire the hands.
- Mini buying checklist: test the bass, tone, and slap; listen to the resonance.
- Tighten the tuning gradually and listen between each adjustment.
- If you play on the floor, use a stand or mat to stabilize the instrument and reduce vibration transmission in an apartment.
Practical tips: choose an instrument suited to your size and use (home, travel). A case and humidity protection will extend its quality.
Posture and placement: the foundation for a steady, pain-free rhythm
Setting up the instrument and your legs correctly creates the basis for sustainable practice. Thoughtful posture affects tempo consistency, session length, and the prevention of shoulder, wrist, and back pain.
Playing on a chair or on the floor
On a chair, look for stability: feet firmly planted, instrument held between the legs without squeezing. On the floor, make sure you have solid support and avoid blocking the opening under the shell.
Shell angle and resonance
Aim for an angle of about 45°. This position lets air escape, opens the sound, and makes the bass deeper. If the note lacks body, adjust the angle or height instead of increasing force.
Hands, shoulders, and economical movement
Keep the shoulders relaxed and the hands mirrored. Flexible wrists and small movements let you hold eighth notes without fatigue. Simple posture gives you more freedom of playing and improves the collective experience.

The fundamental djembe strokes to master before patterns
Before learning patterns, learn where and how to place the hand to produce a real timbre. This simple gesture improves sound quality without increasing force.
Bass, tone, slap: zones and timbres
The bass is produced in the center with a cupped hand. The tone comes from the edge with the fingers together. The slap is a dry accent produced by the rebound of the fingers.
Touch and “ghost” notes
Light notes enrich the playing. Use a soft touch, without digging the fingers in, to create subtle dynamics.
Warm-up and prevention
Short routine: wrist rotations, bass/tone/slap sequences in crescendo. Stop if it pulls.
| Strokes | Zone | Hand |
|---|---|---|
| Bass | Center, tight skin | Cupped palm, rebound |
| Tone | Inner edge | Fingers together, clean attack |
| Slap | Edge angle | Relaxed fingers, accent |
Simple criterion: a good sound comes out without pain and stays stable when repeated 10 times. Correct the zone and relaxation, not the force.
To go further, follow an online course that explains these techniques and a safe practice protocol in detail.
Beginner djembe rhythm: 7 easy patterns to get started
Each exercise below aims to establish a steady groove and eighth-note reading. Work slowly, then increase the tempo when coordination becomes automatic.

Binary eighth-note pattern
Alternate right hand/left hand over a steady flow. Count “1 and 2 and 3 and 4 and” to keep the tempo.
Call-and-response pattern
A leader plays a short phrase, and the group responds after a brief silence. This system teaches listening and collective dynamics.
Three-beat cycle
Feel the 1-2-3 loop and return clearly to “1.” Vary the strokes without losing the foundation.
Triple feel with a double stroke
The odd number sometimes requires doubling one hand. Spot that point and repeat slowly until you feel comfortable.
Four-beat groove
Place the foundation on beats 1 and 3. This stability prevents you from chasing the beat when you speed up.
Variation with rests
Respecting the spaces makes the playing musical. Keep the pulse in your head and treat rests as notes.
Five beats (unusual meter)
Count clearly, then feel the loop. Scores or diagrams help memorize these measures.
| Pattern | Meter | Goal |
|---|---|---|
| Binary eighth notes | 4/4 | Right-hand/left-hand coordination |
| Call and response | Variable | Group communication |
| Triple cycle | 3/4 | Sense of cycle and return to 1 |
| Four-beat groove | 4/4 | Rhythmic foundation before speeding up |
Tip: if you want accompaniment, follow an online percussion course that often provides scores and guided exercises.
Working on tempo and steadiness to progress quickly
Tempo stability is the number one test: if the beat wavers, the pattern falls apart.
Slow -> normal -> fast method: start very slowly to control each stroke. Move to normal tempo when the sound is clean, then increase in short stages.
Concrete protocol: 60-90 seconds per exercise with a metronome, short break, then repeat. Repeat this cycle to anchor the feeling in your hands.
Play-along and metronome
The metronome imposes the placement of the beat. The play-along helps you feel the pulse in a musical context, which is especially useful in 3 or 5 beats.
- Do at least one exercise with a metronome, then one with a play-along.
- Vary dynamics and ghost notes without letting go of the tempo.
Links with learning and lessons: many courses structure modules around these three speeds. This organization prevents bad habits: tension, crushed slaps, or unintentional acceleration.
The steadier the timing remains, the more freedom you gain to nuance your practice and enrich your musical experience. To extend this learning, follow a structured online course.
Short exercises and an effective routine to anchor the basics
Short, focused repetition turns hesitant movements into reliable automatic habits.
Five to twenty minutes a day is enough to consolidate a good foundation without fatigue.
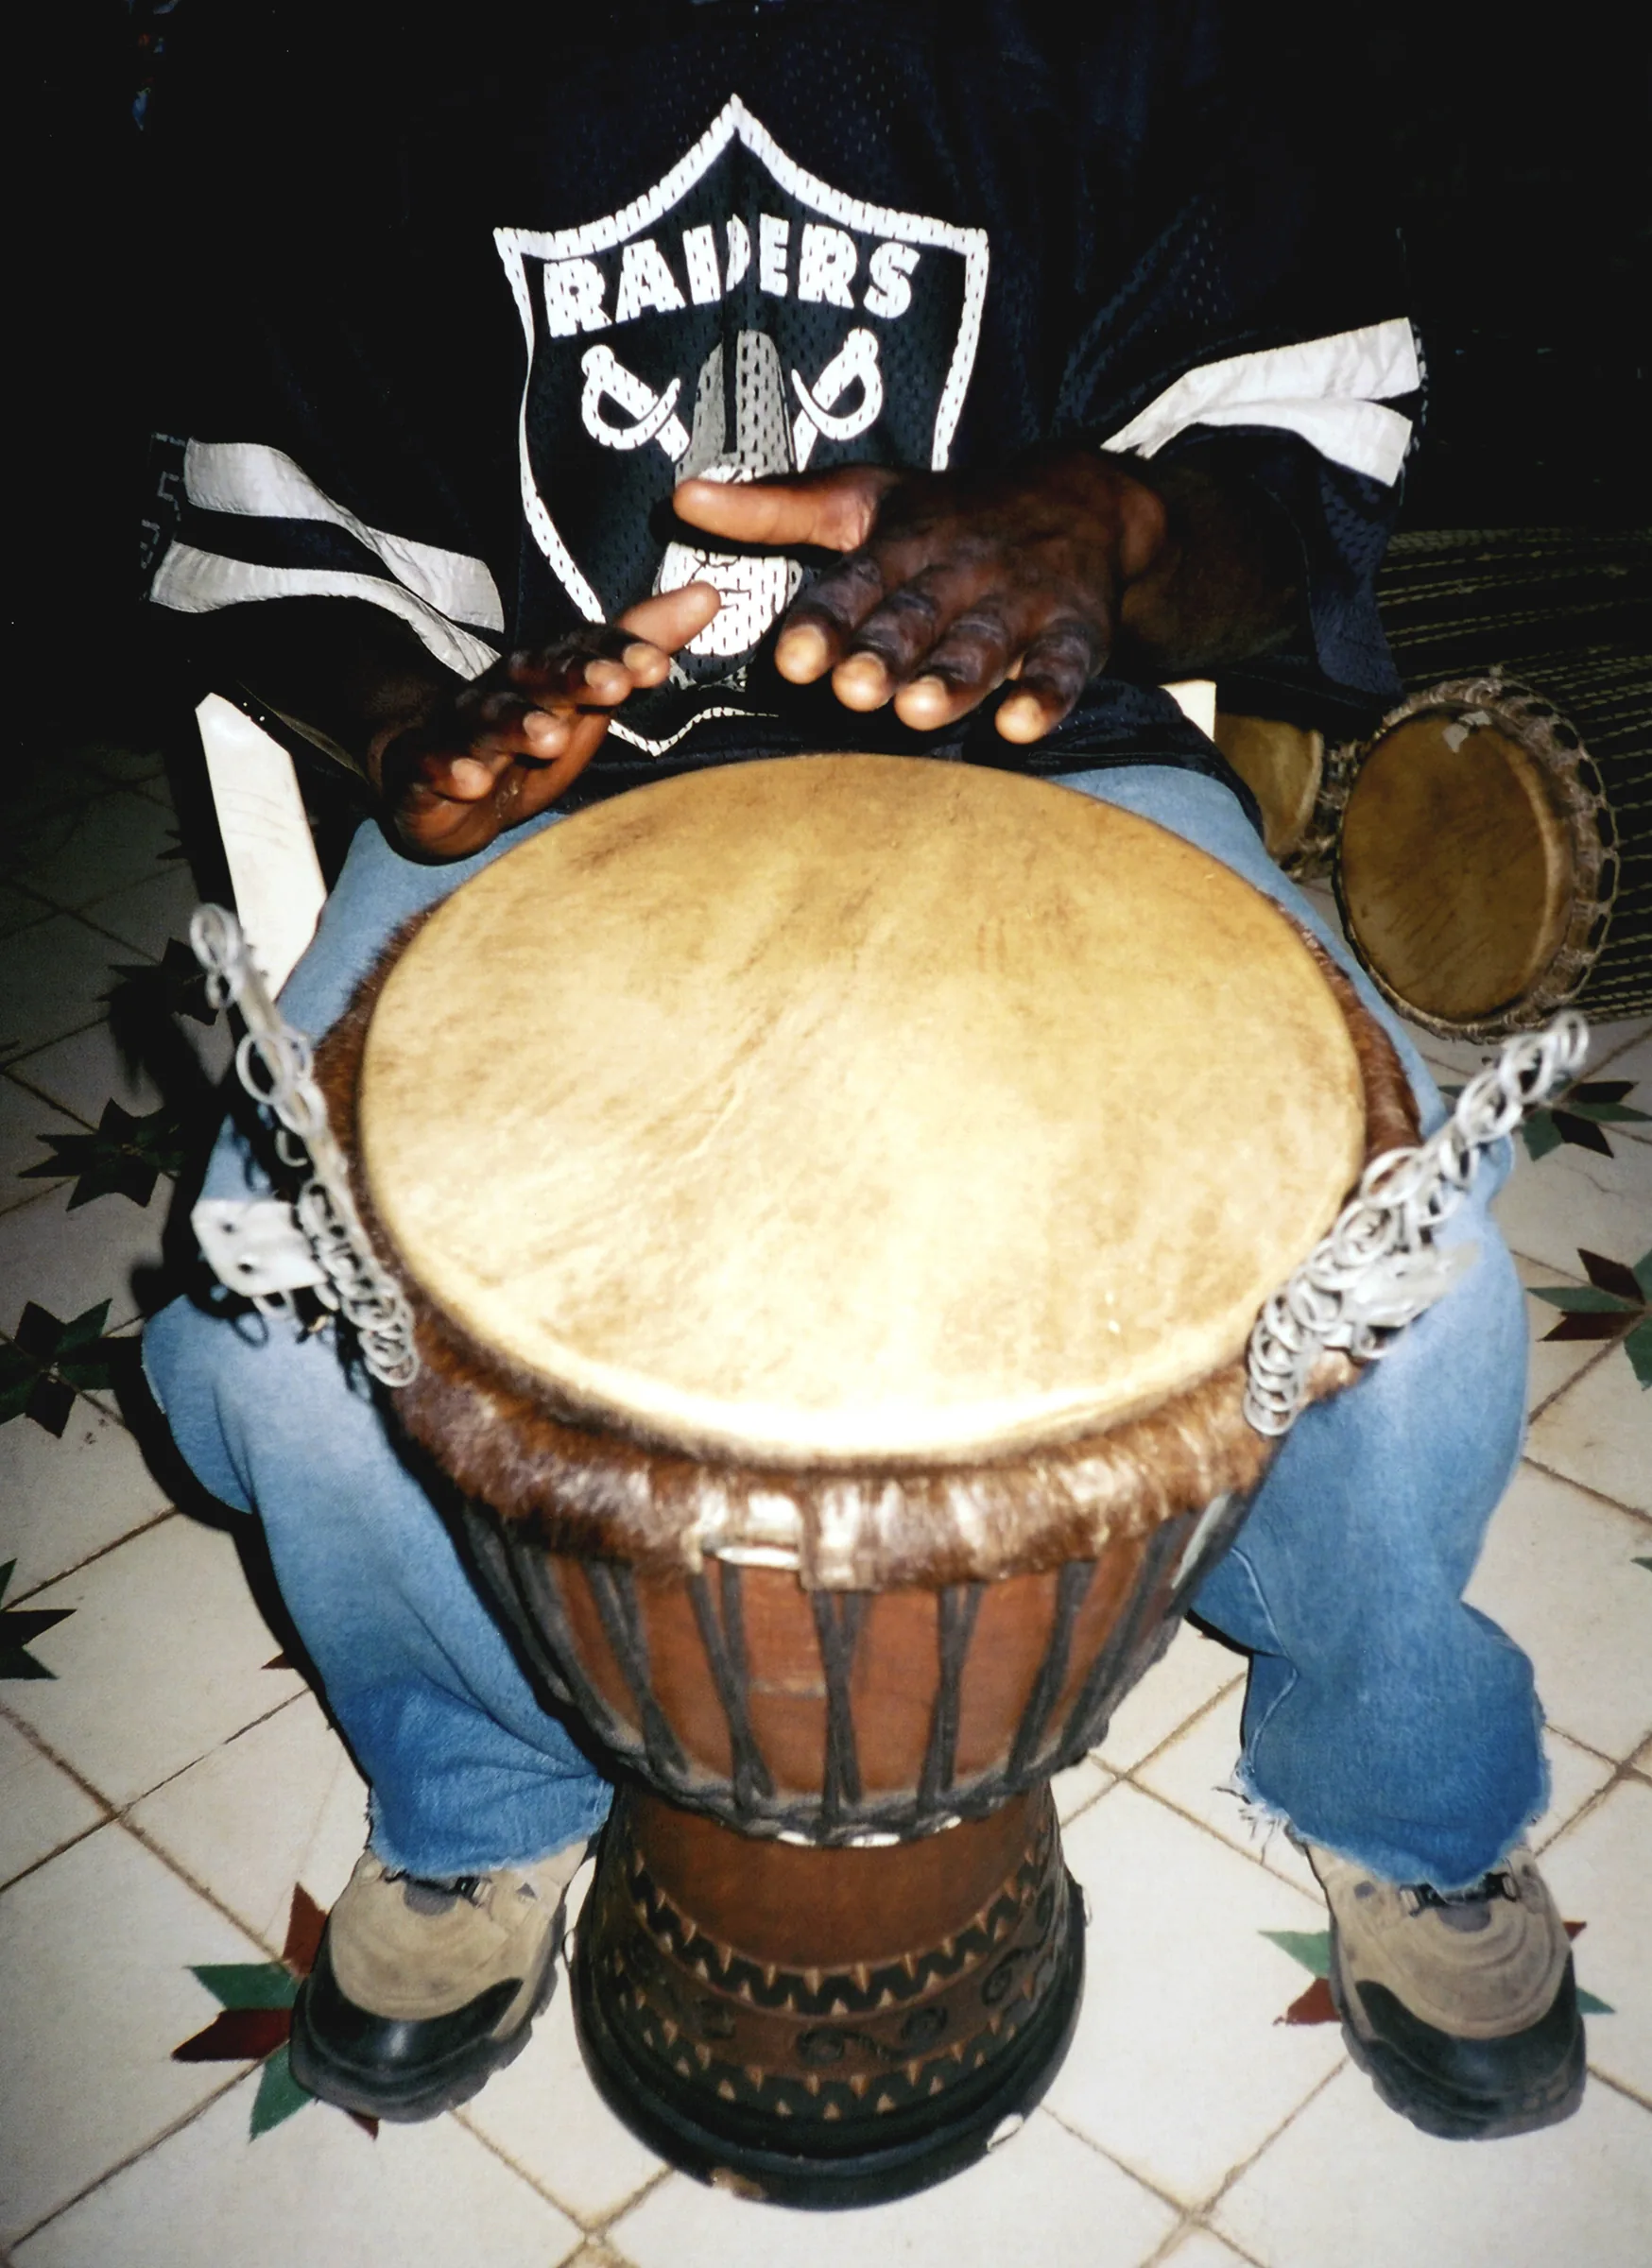
Fifteen to twenty minutes a day: why consistency beats long sessions
Principle: frequent sessions anchor rebound and striking zones better than rare sessions.
This protects the hands and speeds up learning.
Mini practice plan
Simple, repeatable routine:
- 5 min: isolated strokes (bass / tone / slap).
- 5-10 min: link two or three pattern exercises.
- 3-5 min: play freely, vary dynamics and silence.
Recording yourself to measure cleanliness
Tip: film yourself or record the audio. Listen back cold to spot speeding up, weak strokes, and placement problems.
| Goal | Duration | Action |
|---|---|---|
| Technique | 5 min | Isolated strokes, control the foundation |
| Coordination | 5-10 min | Link the exercises, vary the timbres |
| Musicality | 3-5 min | Free playing, dynamics and rests |
Tips: stop if the quality drops, slow down, and resume.
Build this ritual into your day like a mini daily lesson and you will see your basics become stronger.
These exercises also benefit other percussion instruments.
Practicing the djembe at home without disturbing anyone
Training indoors involves more than lowering the volume: you must control transmission through the floor.
Specific problem: the instrument projects and transmits vibrations. The noise heard by neighbors comes from airborne sound and from vibrations through floors and walls. Acting on both sources clearly reduces disturbance.
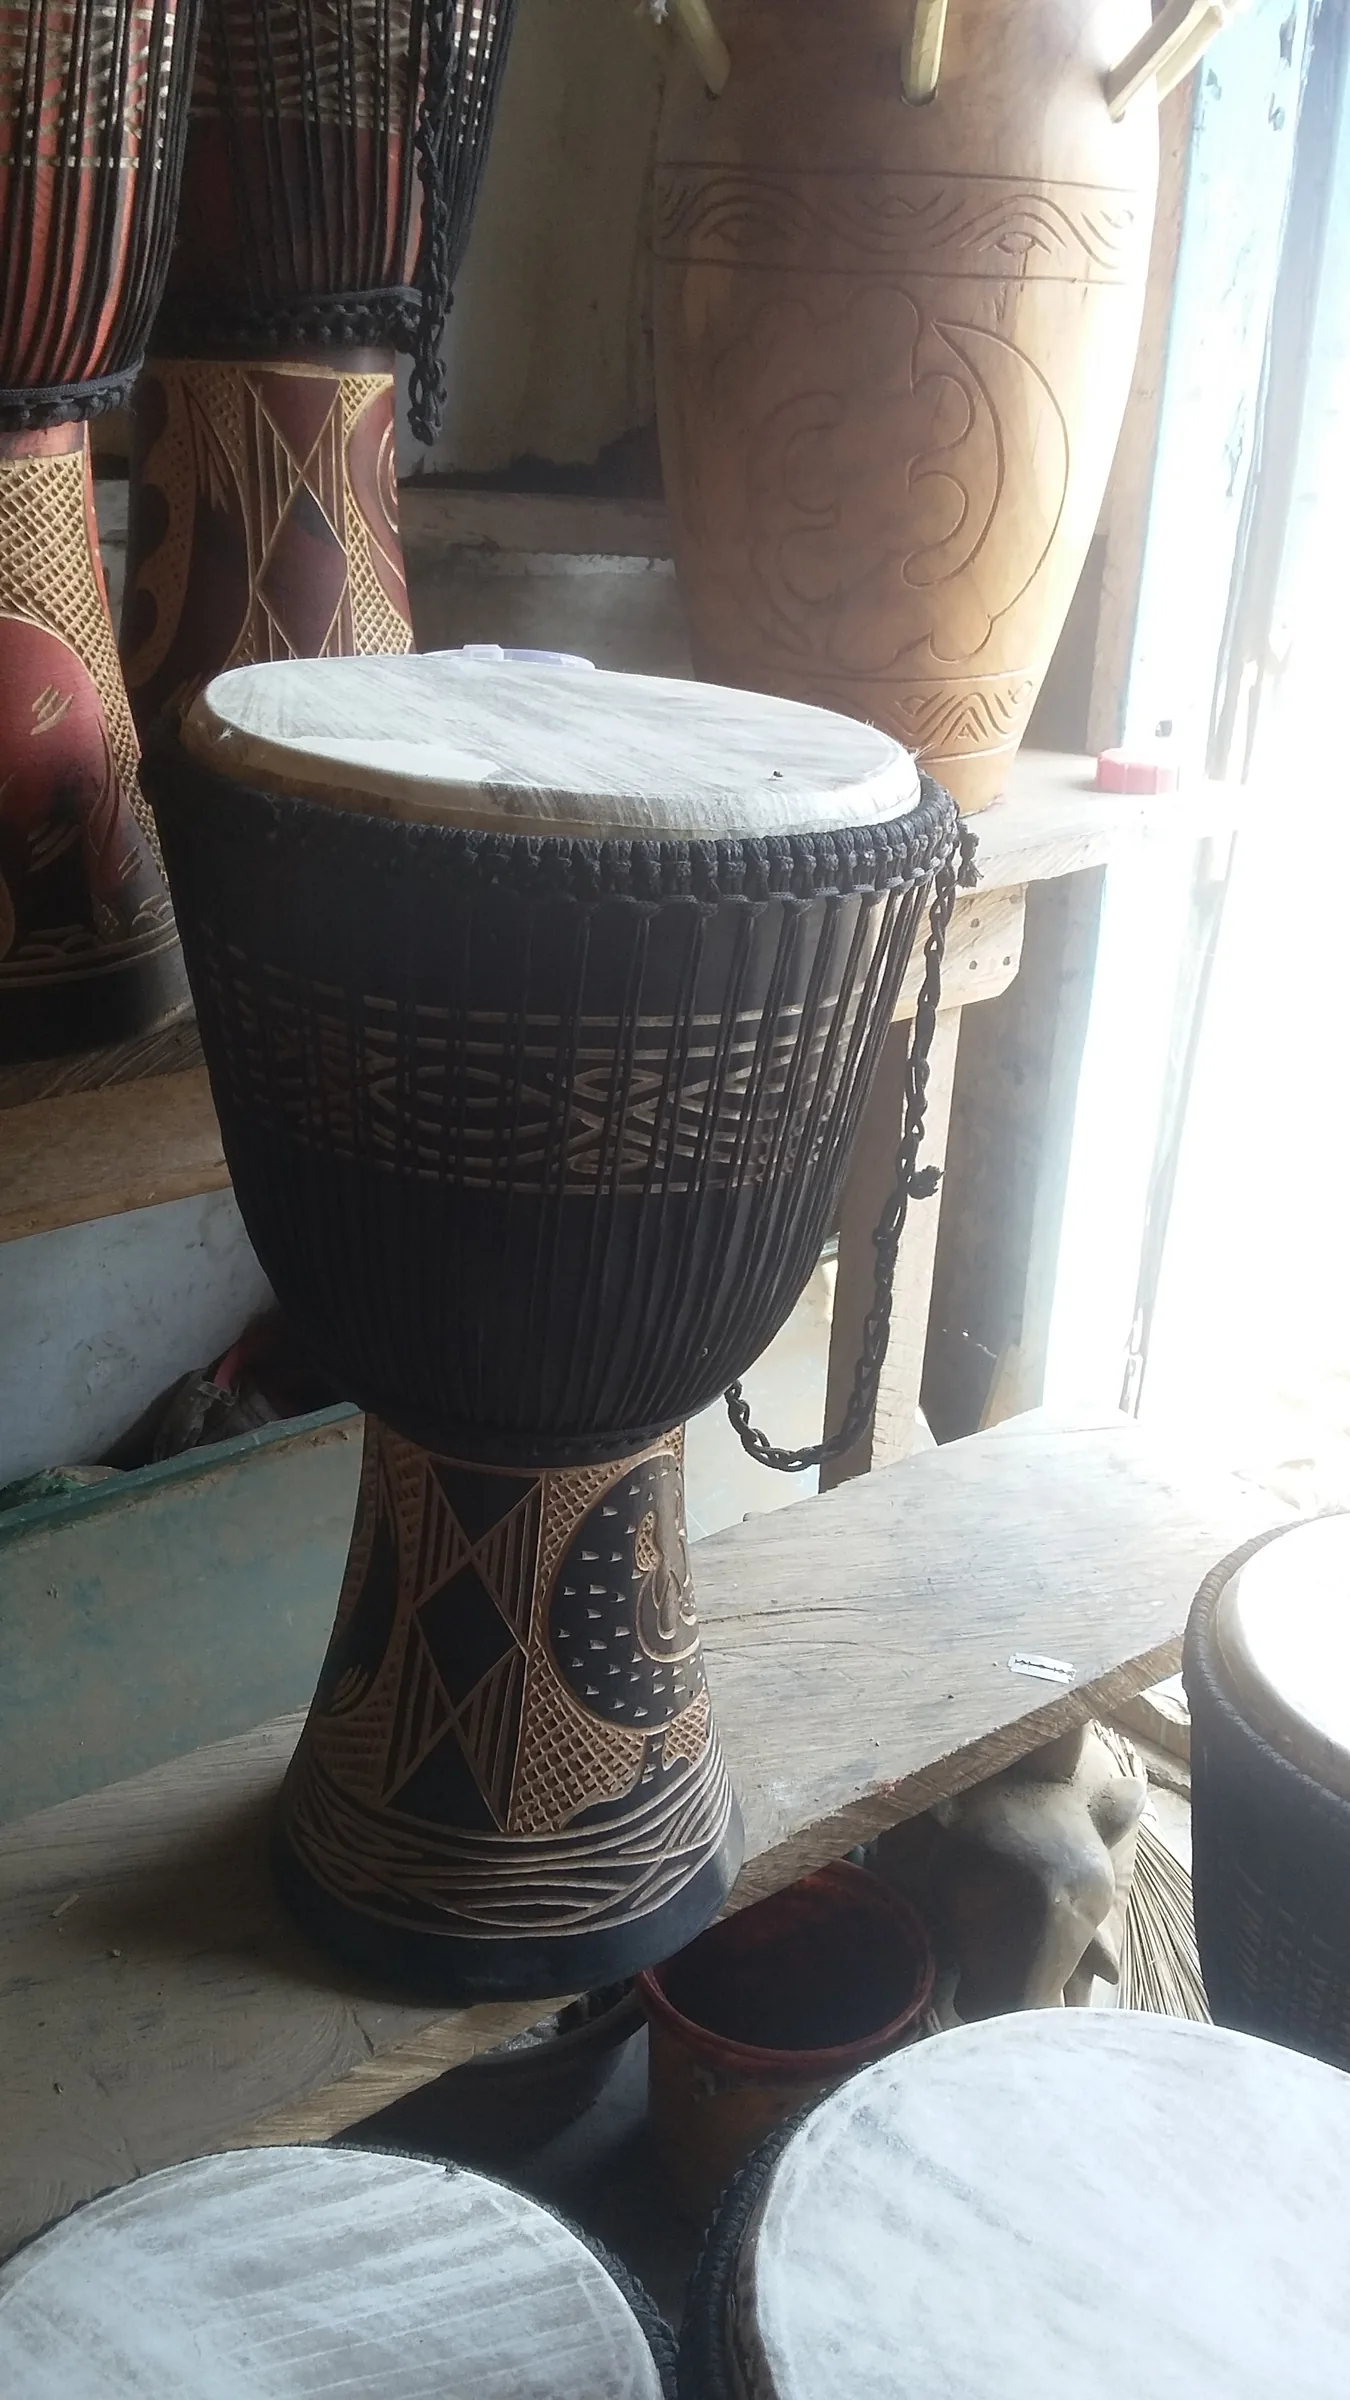
Setting up the space
Place a thick rug under the instrument and add an anti-vibration support. Move the shell away from shared walls to limit resonance.
Add absorbent materials around you: foam panels, heavy curtains, or hanging blankets. They cut aggressive highs and improve perceived quality.
Quieter alternatives
A practice pad lets you work on movements and coordination without sound projection. A slightly damp towel on the skin lowers the volume while keeping rebound.
Electronic solutions offer the advantage of headphones. They preserve the routine while avoiding nuisance.
Hours and common sense
Aim for reasonable time slots (generally 8 a.m.-8 p.m.) and avoid playing early in the morning or late in the evening. Warn your neighbors if you plan longer sessions.
Practical conclusion: 15 daily minutes at controlled volume is better than a rare session that is too loud and risks creating neighbor tension.
| Solution | Main effect | Indicative cost |
|---|---|---|
| Thick rug + anti-vibration support | Reduces transmission through the floor | 30-150 euros |
| Foam panels / heavy curtains | Absorb highs and reverberation | 20-200 euros |
| Practice pad / damp towel | Reduces volume while keeping touch | 10-80 euros |
| Electronic solutions (pads/headphone module) | Allow silent practice with headphones | 50-300 euros |
Conclusion
The key to progress lies in consistency and tempo control more than speed. Choose a comfortable instrument, a posture close to 45°, and work the striking zones with relaxation.
Start by mastering the bass, tone, and slap. Choose two patterns and play them with a metronome at three speeds: slow, normal, fast. Record yourself before adding ghost notes or rests.
Practical tip: plan the next session (15-20 minutes) and prepare the space (rug/stand) so you do not disturb the neighbors. To deepen the teaching approach and group work, consult a dedicated resource such as this pedagogical approach.
Final tip: prioritize zone accuracy and relaxation: the sound will come without forcing, and your hands will thank you.